Non-CAD users can add redlines to drawings to show CAD specialists the changes that need to be made to the drawing, or to clarify the location of a work request sent to a service provider. You use the Web Central drawing control to add the redlines that are then attached to a service request. The service request routes the drawing with the redlines to the appropriate person to make the drawing change, or to complete the work request, or to a business manager for review.
Adding redlines to drawings enables you to:
Review all changes made to a floor plan.
The following provides examples of when different users might add red lines to drawings:
This topic has the following sections:
When working in the Service Request or On Demand Work applications, you can add redlines if the service request Basic Information includes a building and floor. For example, if you have done a complete survey of the floor, you might find that the As-built drawing is no longer correct, You can create a service request and make redlines on the floor plan drawing to indicate the changes that need to be made.
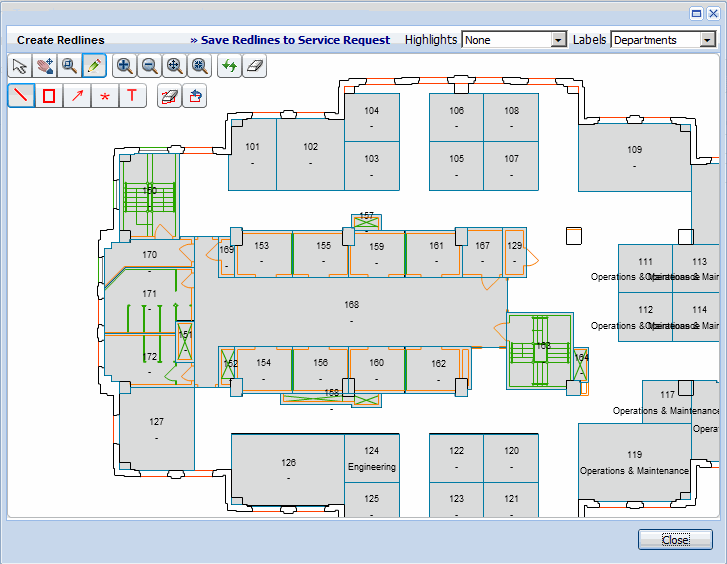
The following image shows the popup window for the floor plan drawing when you run the Add Redlines action.
Note the following:
When you save redlines, the program saves the view of the drawing currently on the screen - including highlights, labels, and redlines - as a .png image file. If you press Save when you have zoomed in, and not all redlines are visible, a popup window appears asking if you want to keep the current view or zoom out until all redlines are visible, and then save the image file.
The image file containing the redlines is uploaded to the appropriate Document field of the service request as a file attachment.
The redlines are saved as vectors in the in the ARCHIBUS Redlines table along with all data needed to regenerate the redlined floor plan.