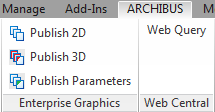
This command publishes all information visible in the selected Revit view as enterprise graphics for use with the Web Central 3D Navigator.
Note: The 3D Publish features are licensed separately from the Extension for Revit.
When choosing which objects to publish and what color to publish the objects with, the command obeys the visibility graphics setting of the view.
The command publishes drawings and all associated BIM Parameter data to files in \ARCHIBUS\projects\projectName\enterprise-graphics. If you wish to publish only the parameter data and publish it to a database for convenient review, use the Publish Parameters command.
The Publish 3D command generates these outputs:
| bin | A customized binary format that contains only geometry |
| .bin.json | All other contents which includes materials, objects, and user data |
The command uses this naming convention for each of the target files:
| Per-floor targets | DB-DWGNAME.bin and DB-DWGNAME.bin.json |
| Per-discipline targets | DB-BuildingId-Discipline.bin and DB-BuildingId-Discipline.bin.json |
where:
Before publishing, you may wish to set advanced options. After step 2, above, click the Advanced button on the Publish 3D form.
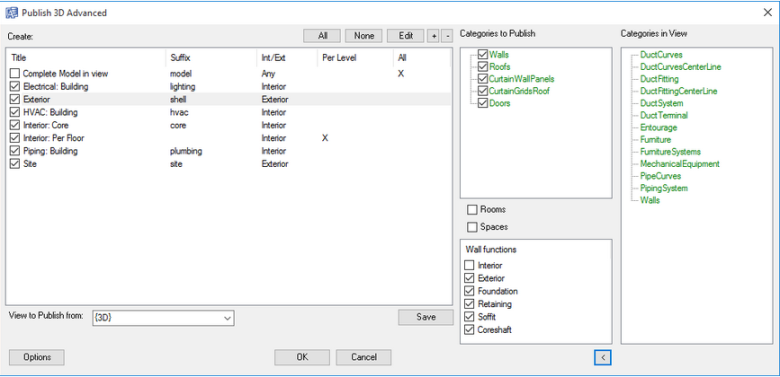
Choose the super-categories to publish by selecting their check boxes. You can use the All, None, "+" and "-" buttons, located above the super-categories list, to set the check boxes.
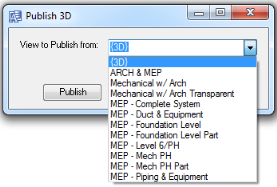
View to Publish From: The system completes this with the option that you selected in Step 2 in the first procedure. If you now decide that you want to work with another view, you can select it here and then use the form to set its options.
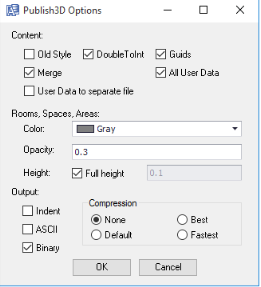
Click OK when you are finished with the Publish 3D Options form. You will return to the Publish 3D Advanced form.
| Copyright © 1984-2016, ARCHIBUS, Inc. Alle Rechte vorbehalten. |